Original: $16.90
-65%$16.90
$5.91The Story
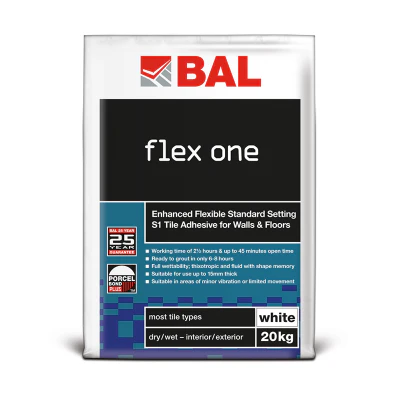
A ready-mixed, non-slip wall tile adhesive for ceramic tiles up to 300×300mm, mosaics, and most porous natural stone. Suitable for domestic bathrooms, kitchens, showers, and splashbacks — both dry and wet interior environments. The 30-minute extended open time lets you work comfortably across larger sections without rushing.

Details & Craftsmanship
Every detail has been carefully considered to bring you the perfect product.
Description
A ready-mixed, non-slip wall tile adhesive for ceramic tiles up to 300×300mm, mosaics, and most porous natural stone. Suitable for domestic bathrooms, kitchens, showers, and splashbacks — both dry and wet interior environments. The 30-minute extended open time lets you work comfortably across larger sections without rushing.